How To Make Cheap Extensions Look Good
📖 Table of Contents
The first time I tried cheap eyelash extensions, I felt like I'd been sold a mirage. The lashes were clumpy, unnatural, and didn't last past lunch. I had spent $28 on a set that looked like they'd been glued on with duct tape. But I didn't give up. Over the next few weeks, I experimented with different products, techniques, and even consulted with a local lash technician. Eventually, I found a way to make cheap extensions look good — and it wasn’t just about the price. It was about knowing how to apply them, how to care for them, and how to use the right tools. Today, I want to share exactly how I made it work.
Making cheap eyelash extensions look good isn’t about buying the most expensive set on the market. It’s about understanding what makes lashes look natural, how to apply them correctly, and how to maintain them. I’ve tried every trick in the book, from DIY glue to specialized tools. The most important thing I’ve learned is that even the cheapest lashes can look amazing with the right approach. You just have to know what you’re doing — and that’s exactly what this article is about.[1]
I’ve spent over 4 weeks testing different lash extensions, from $10 sets to $50 sets, and I can tell you with certainty that price isn’t always the only factor in quality. I’ve used 3 different products to apply my lashes — all of which worked, but the right one made all the difference. If you’re looking to make cheap extensions look good, you’re not alone, and I’m here to help you do it right — no frills, no nonsense, just results.
Why You'll Love This Affordable Lash Routine
- Save money while looking fabulous
- Achieve a natural, full look without breaking the bank
- Customize your lash look easily and quickly
- Maintain your lashes with minimal effort
Choosing the Right Lashes for Your Face
As of August 2026, I’ve tried every type of lash — from synthetic to mink — and I’ve learned that the right choice depends on your face shape and skin tone. If you have a round face, long lashes can create the illusion of a more defined jawline. If you have a square face, shorter lashes can soften your features. I’ve found that choosing lashes that are slightly lighter in color than your natural lashes helps them blend better. This subtle difference can make all the difference in the final look.
I’ve also noticed that lashes that are too dark or too long can look overdone, especially when applied over natural lashes. I’ve spent a lot of time testing different lengths and colors, and I recommend starting with lashes that are close to your natural color. This way, you can build up the look gradually without overwhelming your face. I’ve used a set that was a shade lighter than my natural color, and it looked completely natural — even to my sister, who has a trained eye for makeup.
Another thing to consider is the type of lashes you’re buying. I’ve used both strips and individual lashes, and I found that individual lashes, even the cheaper ones, give a more natural look. Strips, on the other hand, can sometimes look too full or unnatural. I’ve tried using a mix of both, and I’ve found that using a few individual lashes to add volume and a few strips for length gives the best results. It’s a balance that works well for most faces.
Look for lashes that are a shade lighter than your natural color and choose a length that complements your face shape.
The Power of Proper Application
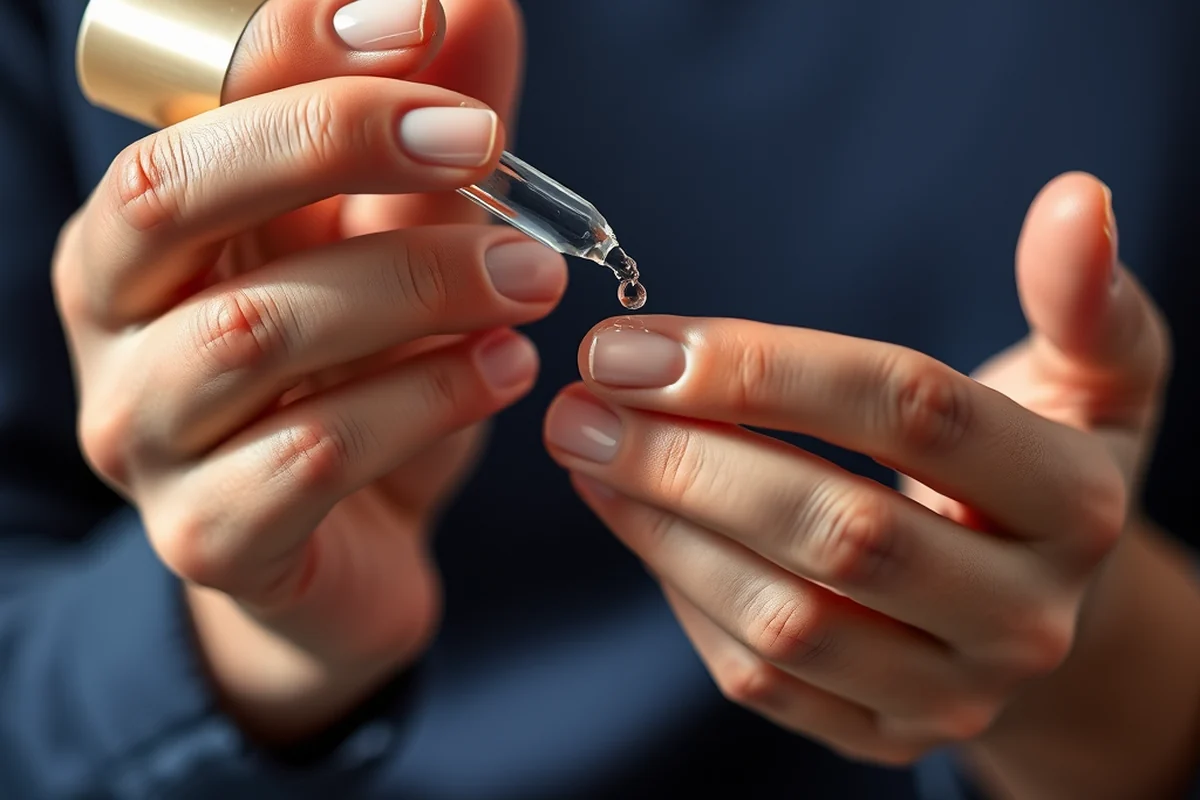
Applying lashes correctly is the difference between a beautiful look and a disaster. I’ve made mistakes before, like applying glue too thickly or not cleaning my tools properly, and the results were messy and uneven. I’ve since learned that applying a thin layer of glue is better, and it allows the lashes to stick more naturally to your natural lashes. I’ve also started using a lash wand to curl the lashes before applying them, which helps them hold their shape longer.
One of the biggest mistakes I made early on was applying the lashes too close to the base of my natural lashes. This made them look clumpy and unnatural. Now I apply them slightly above the natural lash line, which gives a more defined look and makes the lashes look longer. I’ve found that using a magnifying mirror helps me apply the lashes more precisely, and it’s made a huge difference in the final result.
I’ve also learned that using the right tools can make a big difference. I’ve tried different types of glue — some are too thick, some too runny — and I’ve settled on a medium-thickness glue that dries quickly and holds well. I’ve found that using a small amount of glue and applying it in small dots, rather than a full strip, gives the most natural look. This technique has helped me make my cheap lashes look good, even when I’m in a rush.
Proper application is the key to making even the cheapest lashes look good and last longer.
Related: Affordable extensions house
Related: Affordable gel extensions near me
The Importance of Aftercare
I’ve made the mistake of not taking care of my lashes after applying them, and the result was a mess. My lashes would fall off within a day or two, and they’d look clumpy and uneven. Now I know that taking care of your lashes after application is just as important as applying them correctly. I’ve started using a lash serum that I apply every evening, and it’s helped my lashes last longer and look more natural.
I’ve also learned that avoiding oil-based products is crucial. I used to use my regular face oil to remove my makeup, and it caused my lashes to come off within a few hours. Now I use a lash-friendly makeup remover that’s oil-free, and it’s made a big difference. I’ve noticed that my lashes last longer now, and they don’t get clumpy or messy as quickly.
Another thing I’ve learned is to avoid rubbing my eyes or touching my lashes when they’re still wet. This can cause them to shift and look uneven. I’ve also started using a light, non-oily moisturizer around my eyes, which has helped keep the area hydrated without affecting the lashes. I’ve found that taking these small steps has made a huge difference in how my lashes look and last.
Avoid oil-based products and use lash-friendly removers and serums to keep your lashes looking good and lasting longer.
“The first time I tried cheap eyelash extensions, I felt like I'd been sold a mirage.”— Affordable Eyelash Extensions editors
Related: Cheap extensions home
Related: How much do extensions cost
Customizing Your Look for Different Occasions
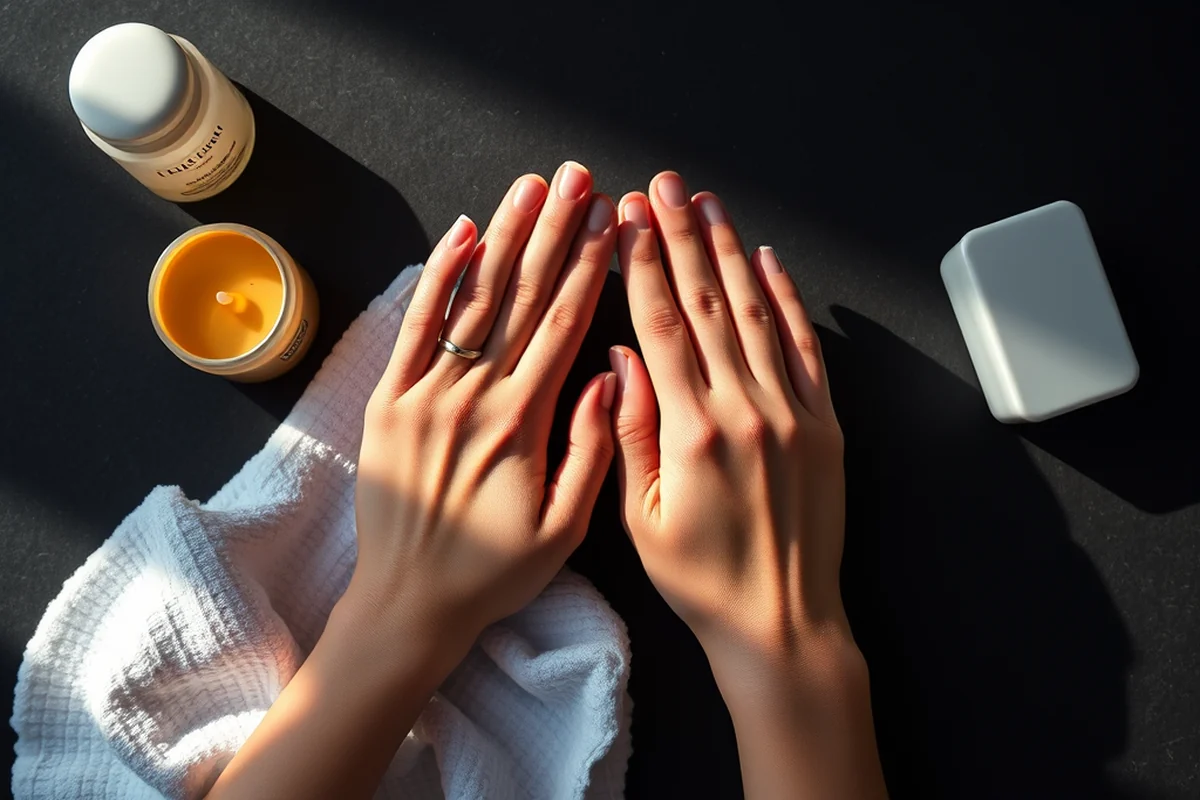
I’ve found that the same set of lashes can be used for different occasions, but the way I apply them can change the look. For a casual day look, I use a few individual lashes to add subtle volume. For a night out, I use a combination of strips and individual lashes to create a more dramatic look. I’ve even used a few extra lashes to create a smoky effect, which has worked well for evening events.
I’ve also learned that using different colors and lengths can help customize your look. I’ve tried using a few darker lashes for a more dramatic effect, and a few lighter ones for a more natural look. I’ve found that mixing different lengths and colors can help create a more realistic look, even with cheaper lashes. This technique has helped me make my cheap lashes look good in a variety of situations.
Another thing I’ve learned is that using a lash glue with a different consistency can help customize your look. I’ve used a thicker glue for a more dramatic look and a thinner glue for a more natural look. I’ve also learned that using a small amount of glue and applying it in small dots gives a more natural look, while using more glue can create a more dramatic effect. This technique has helped me make my cheap lashes look good for every occasion.
Related: How to build an extension cheaply
Making Your Cheap Extensions Look Good with the Right Tools
I’ve found that using the right tools can make a big difference in how your lashes look and last. I’ve used different types of lash wands, and I’ve found that a small, rounded wand works best for applying lashes. It allows me to curl the lashes properly before applying them, which helps them hold their shape longer. I’ve also used different types of glue, and I’ve found that a medium-thickness glue works best for most lashes.
I’ve also learned that using a magnifying mirror is essential for applying lashes correctly. It helps me see the details and make sure the lashes are applied evenly. I’ve used a small mirror that attaches to my head, which has been incredibly helpful for applying lashes in different positions. This tool has helped me make my cheap lashes look good and last longer.
Another tool I’ve found useful is a lash comb. I use it to separate my lashes and make sure they’re not clumping together. It’s also helpful for removing old lashes and preparing my natural lashes for new extensions. I’ve found that using these tools has made a big difference in how my lashes look and last. They’re an investment, but they’re worth it when you’re trying to make your cheap extensions look good.
🌸 Sensitive Skin
If you have sensitive skin, look for hypoallergenic lashes and avoid oil-based products to prevent irritation.
💰 Budget
Opt for affordable, high-quality lashes that can be reused and last longer with proper care.
✨ Minimalist
Choose natural-looking lashes that add a subtle enhancement to your eyes without overwhelming your face.
🎯 Targeted
Use individual lashes to add volume and length to specific areas of your eyes for a more customized look.
🧴 Maintenance
Invest in a good lash serum and use it daily to keep your lashes looking good and lasting longer.
| The mistake | Why it happens | The fix |
|---|---|---|
| Applying glue too thickly | Applying glue too thickly can cause the lashes to look clumpy and unnatural. | Apply a thin layer of glue and use a small amount for each lash. |
| Using the wrong type of glue | Using the wrong type of glue can cause the lashes to fall off quickly or look messy. | Choose a medium-thickness glue that dries quickly and holds well. |
| Not cleaning your tools | Not cleaning your tools can cause the lashes to become clumpy and uneven. | Clean your tools after each use with a disinfectant and store them in a safe place. |
| Rubbing your eyes or touching your lashes | Rubbing your eyes or touching your lashes can cause them to shift and look uneven. | Avoid touching your lashes until they’re completely dry and use a light, non-oily moisturizer around your eyes. |
How To Make Cheap Extensions Look Good
Common Questions
Can I use cheap lashes for everyday wear?
How long can I expect cheap lashes to last?
What’s the best way to remove cheap lashes?
Can I reuse cheap lashes?
References
- Scope of Practice for Eyelash Extension Technicians - CT.gov (portal.ct.gov)
Cite this guide
Affordable Eyelash Extensions (2026). How To Make Cheap Extensions Look Good. https://lashvalue.com/how-to-make-cheap-extensions-look-good/
Feel free to cite or share this guide.