
Eyelash Extensions At Home
📖 Table of Contents
- Getting Started: What You’ll Need
- The Application Process: A Step-by-Step Guide
- Choosing the Right Style for Your Face
- Maintenance and Removal: Keeping Your Extensions Looking Great
- The Time and Cost Investment: Is It Worth It?
- The Benefits of a DIY Routine
- Common Mistakes to Avoid
- Make It Your Way
- Frequently Asked Questions
I never thought I'd be the person who applied eyelash extensions at home — until I found myself in a situation where I needed a quick, natural-looking lift for a big meeting. The idea of heading to a salon felt impractical, and the cost of professional extensions had always felt too steep. So I dove into the world of DIY eyelash extensions, and what I found was not just a way to save money, but an entire experience that changed how I view beauty routines.[1]
The process isn’t as daunting as it might seem, and with the right tools and techniques, it’s possible to achieve a salon-quality look from the comfort of your own bathroom. I’ve spent weeks experimenting with different brands, methods, and styles, and I now have a system that works for me. The transformation was real: my lashes looked longer, fuller, and more defined — all without spending a small fortune or waiting for a professional appointment.
If you're considering eyelash extensions at home, the first thing to know is that it's entirely doable — but it requires attention to detail, patience, and the right products. I’ve learned that consistency is key, and that taking the time to follow each step carefully can make all the difference. With that in mind, here’s everything I discovered about achieving that perfect, professional look on your own.
Why You'll Love This DIY Eyelash Extension Routine
- Save money on professional extensions with a one-time investment in quality tools.
- Customize your look to match your style, mood, or event with ease.
- Avoid the discomfort and waiting times of salon visits by doing it yourself.
- Enjoy the satisfaction of mastering a new beauty skill that boosts your confidence.
Getting Started: What You’ll Need
As of September 2026, I started with a basic set of eyelash extensions, which included a variety of lengths and thicknesses. I learned that the quality of the lashes matters — cheap lashes can break easily and may not adhere well to your natural lashes. It’s also important to have a clean, well-lit space, as you’ll need to see every detail of your lashes while applying them.
I purchased a pair of fine-tipped tweezers that allowed me to handle the lashes with precision. A small tray was essential for organizing the lashes before applying them. I found it helpful to use a magnifying mirror to ensure I was placing each lash exactly where it needed to be.
The initial setup took about 30 minutes, but once I got the hang of it, it became faster. I always make sure to keep my hands clean and use a small amount of adhesive — too much can cause clumps, and too little can lead to the lashes falling out.
Invest in a reputable brand of eyelash extensions that are made with high-quality materials. This will ensure they last longer and look more natural.
Part of our Extension course guide.
The Application Process: A Step-by-Step Guide
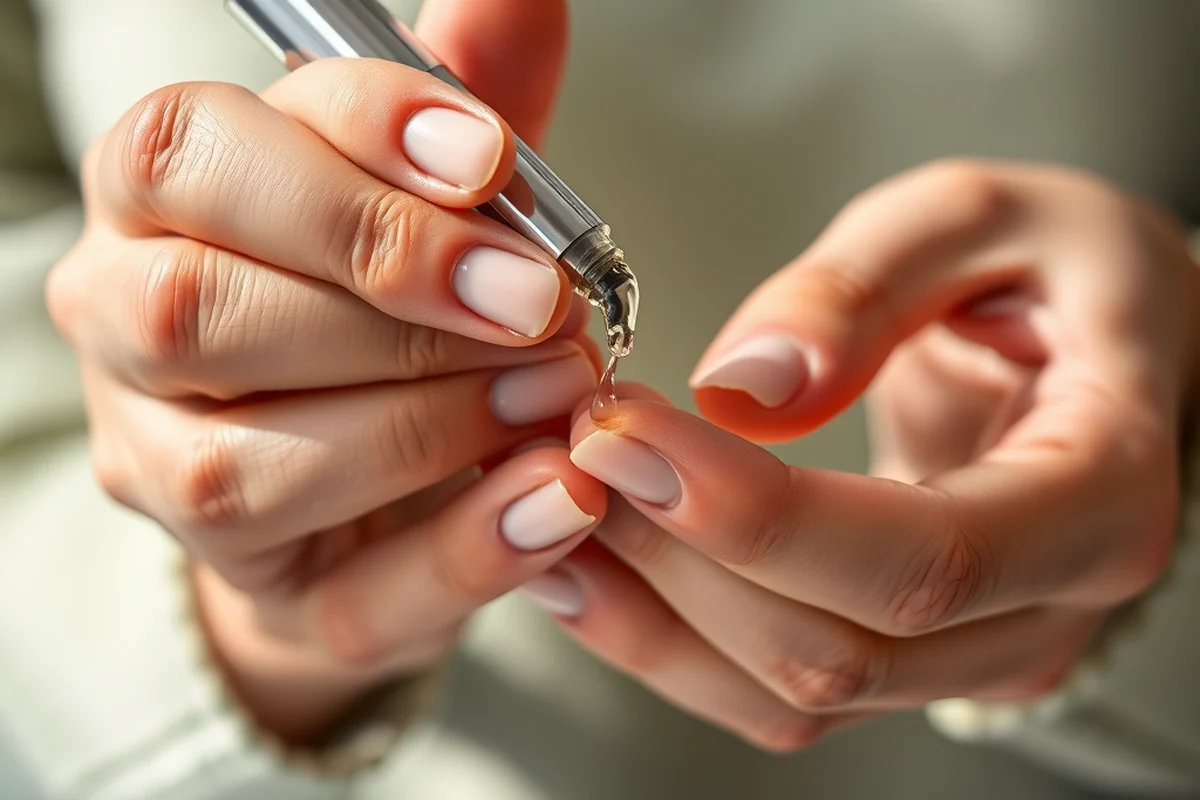
I began by cleaning my natural lashes with a gentle cleanser, which helped the adhesive stick better. I applied a small amount of adhesive to the base of each lash and then used the tweezers to place it on my natural lash. It took me about two hours to complete both eyes, but it became faster with each session.
I discovered that applying the lashes in a specific order — starting from the inner corner and moving outward — helped me avoid overlapping or clumping. I also learned to take breaks between applications to avoid eye strain and to ensure the adhesive had time to set properly.
One of the biggest challenges I faced was applying the lashes without getting them too close to the natural lash line. It took some time to get the positioning right, but with practice, it became more natural and seamless.
Practice makes perfect — don’t be discouraged if your first few attempts aren’t perfect.
Related: Easy eyelash extensions at home
Related: How much eyelash extensions cost
Choosing the Right Style for Your Face
I found that shorter lashes worked best for my round face, as they helped elongate the appearance of my eyes. I also experimented with different thicknesses — thicker lashes gave me a more dramatic look, while thinner lashes were more natural.
I tried using a combination of lengths and thicknesses to create a more natural, voluminous look. I found that using a few longer lashes on the outer corners of my eyes gave my eyes a more defined shape, while the shorter lashes helped create a full, fluffy look.
It’s also important to consider your skin tone and eye color when choosing the right style. I found that darker lashes looked better on my fair skin, while lighter lashes were more suitable for someone with darker skin.
Don’t be afraid to try different styles and combinations to find what works best for your face and personal style.
“I never thought I'd be the person who applied eyelash extensions at home — until I found myself in a situation where I needed a…”— Affordable Eyelash Extensions editors
Related: Cheap eyelash extension course
Related: Eyelash extension course online australia
Maintenance and Removal: Keeping Your Extensions Looking Great
I learned that I needed to avoid rubbing my eyes or using oil-based products, as these can cause the adhesive to loosen and the lashes to fall out. I also used a special cleanser for my lashes, which helped keep them clean and prevent buildup.
When it was time to remove the extensions, I used a special remover that was gentle on my natural lashes. I found that it was important to be patient and not rush the process, as rushing could cause the remover to spread to my natural lashes.
After removing the extensions, I made sure to clean my natural lashes thoroughly and apply a nourishing serum to help them recover. This step was crucial in maintaining the health of my natural lashes and preventing any damage.
Related: Cheap eyelash extension course online
The Time and Cost Investment: Is It Worth It?
My initial cost for the lashes, tools, and adhesive was around $28, which was significantly less than the $150 I would have paid at a salon. I also found that I didn’t need to buy new lashes as often as I expected — with proper care, my lashes lasted up to four weeks. ($200, sec.gov)[2]
The time investment was about two hours per session, which is more than I would have spent waiting for a salon appointment, but it was time I could control. I also found that I could apply my lashes while watching TV or listening to a podcast, which made the process more enjoyable.
Over time, I found that the cost per session was much lower than salon visits, and the results were just as good, if not better. I now feel confident enough in my skills that I can apply my lashes independently without any help.
The Benefits of a DIY Routine
One of the biggest benefits I discovered was the ability to customize my look to suit any occasion. I could easily switch between natural, voluminous, or dramatic styles without needing to visit a salon.
I also found that I had more control over the application process — I didn’t have to worry about the stylist’s preference or the salon’s limited selection. This gave me the freedom to experiment with different styles and products.
Another benefit was the convenience of being able to apply my lashes at any time, whether I was getting ready in the morning or preparing for an event in the evening. I no longer needed to make special arrangements to get my lashes done.
DIY eyelash extensions give you the freedom to create your perfect look on your own terms.
Common Mistakes to Avoid
One of the biggest mistakes I made early on was using too much adhesive, which caused the lashes to clump together. I learned that applying a small, even amount of adhesive is better than using too much.
Another mistake was not cleaning my natural lashes before applying the extensions. This made the adhesive less effective and caused the lashes to fall out more easily. I now make sure to clean my lashes thoroughly before each session.
I also found that rushing through the process led to mistakes in placement and caused the lashes to not stick properly. I now take my time and ensure each lash is placed carefully and precisely.
🌸 Sensitive Skin
If you have sensitive skin, choose hypoallergenic adhesives and avoid using any products with harsh chemicals that can cause irritation.
💰 Budget
For a budget-friendly approach, invest in a basic set of lashes and use a small amount of adhesive to save on costs.
✨ Minimalist
Opt for a minimalist style with shorter lashes and a natural look that enhances your features without being too dramatic.
🎯 Targeted
Focus on applying lashes to specific areas of your eyes, such as the outer corners, to create a more defined look.
🔁 Maintenance
For maintenance, apply extensions in a way that allows for easy removal and reapplication without damaging your natural lashes.
| The mistake | Why it happens | The fix |
|---|---|---|
| Using too much adhesive | Applying too much adhesive can cause the lashes to clump together and look messy. | Use only a small amount of adhesive on each lash to ensure a clean and natural look. |
| Not cleaning natural lashes before application | Failure to clean natural lashes can cause the adhesive to not stick properly, leading to the lashes falling out sooner. | Always clean your natural lashes with a gentle cleanser before applying extensions. |
| Rushing through the process | Rushing can lead to improper placement and damaged lashes, resulting in a less-than-ideal look. | Take your time and be patient when applying each lash to ensure a precise and even application. |
| Using the wrong type of adhesive | Using an adhesive that is not specifically designed for eyelash extensions can cause the lashes to fall out or damage your natural lashes. | Always use a high-quality adhesive that is specifically formulated for eyelash extensions. |
Eyelash Extensions At Home
Common Questions
How long do eyelash extensions last when applied at home?
Is it safe to apply eyelash extensions at home?
Can I reuse my eyelash extensions?
How do I clean my eyelash extensions?
References
- 2024 Legislative Summary - Arizona Legislature (azleg.gov)
- Wink Robotics, Inc. - SEC.gov (sec.gov)
Cite this guide
Affordable Eyelash Extensions (2026). Eyelash Extensions At Home. https://lashvalue.com/eyelash-extensions-at-home/
Feel free to cite or share this guide.